When Should You Replace Your Home Appliances?

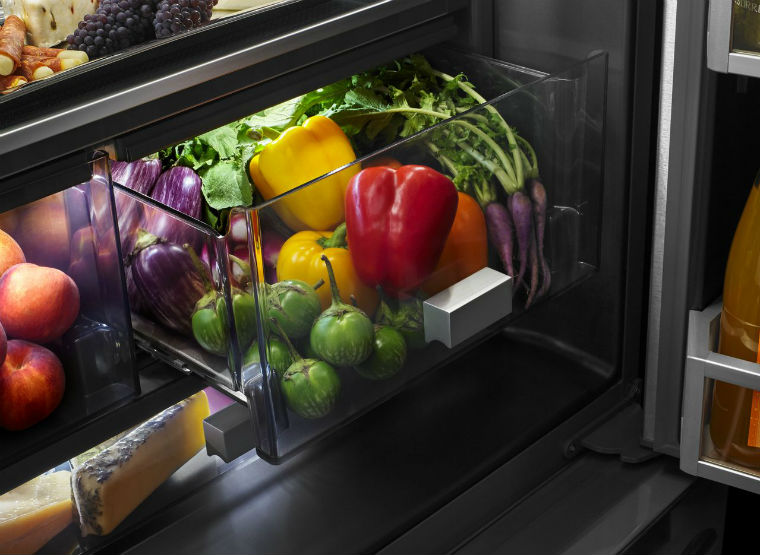
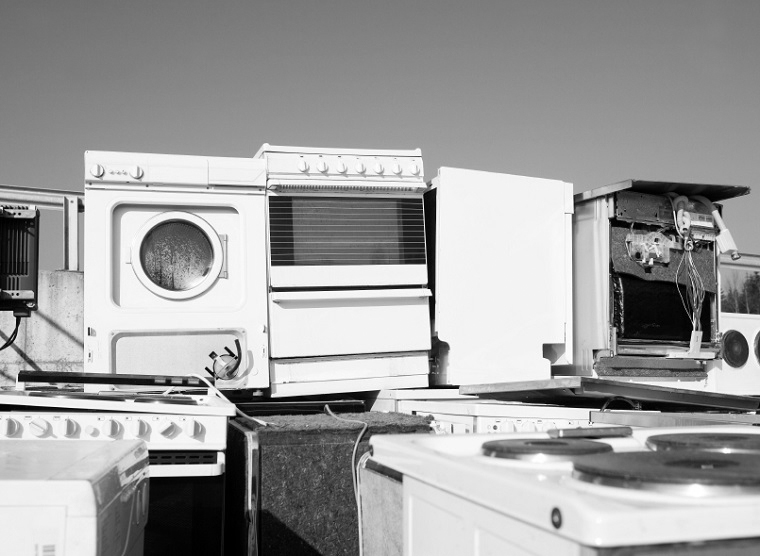
From the kitchen and the laundry room to the outdoor living space, the modern home can only run efficiently with the help of modern home appliances. Regular maintenance and service will help extend the lifespan of your favorite appliances, but there is bound to be a time when you’ll have to consider whether or not it’s time to replace your units.

The decision to replace an old or damaged appliance can be a difficult one, especially when there are so many exceptional products available on the market today. However, there are several key factors you should consider when making this decision. To help you when the time comes, we’ve selected some important questions you should ask yourself to determine when you should replace your home appliances.

How Old Is Your Appliance?

When deciding whether or not to replace your appliance, you should consider how old the unit is and how long you’ve owned it for. While premium appliances are built to last, no unit will last forever. If your unit is older than its average lifespan, you should definitely consider investing in a replacement.

While the lifespan of your kitchen and laundry appliances will vary, you can reference the information below for an approximate age range of several common appliances:

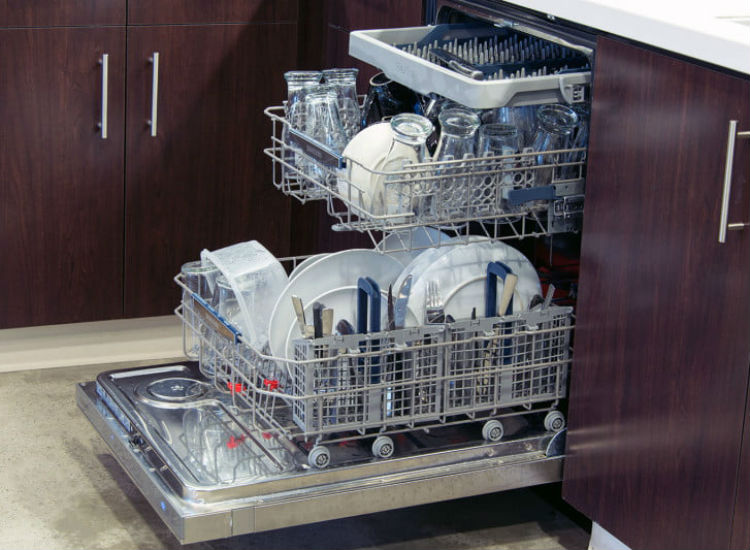
• Dishwashers: 9-10 years
• Dryers: 13 years
• Washing Machines: 5 -15 years
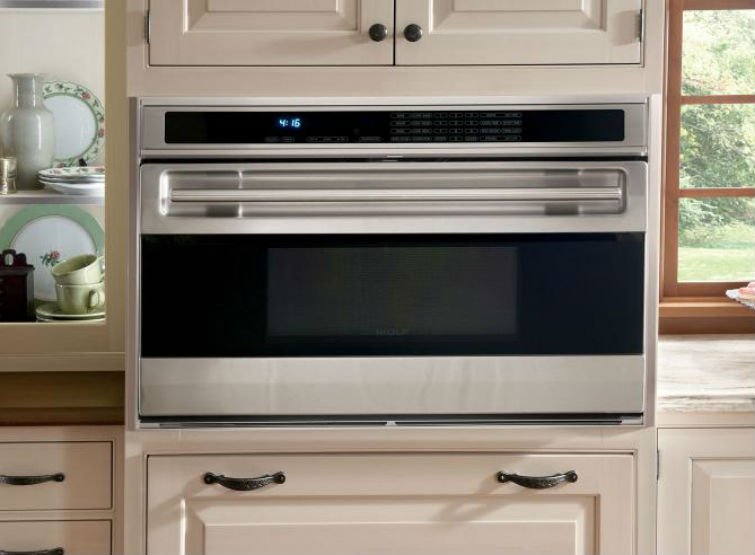
• Microwaves: 9 years
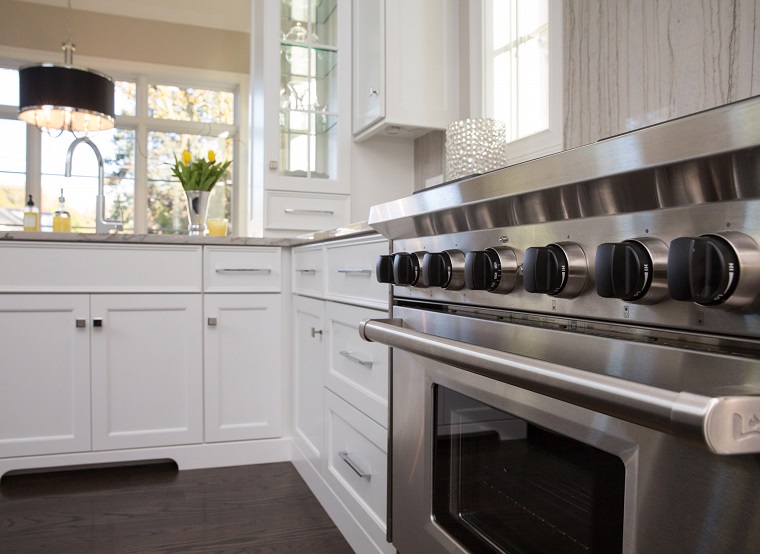
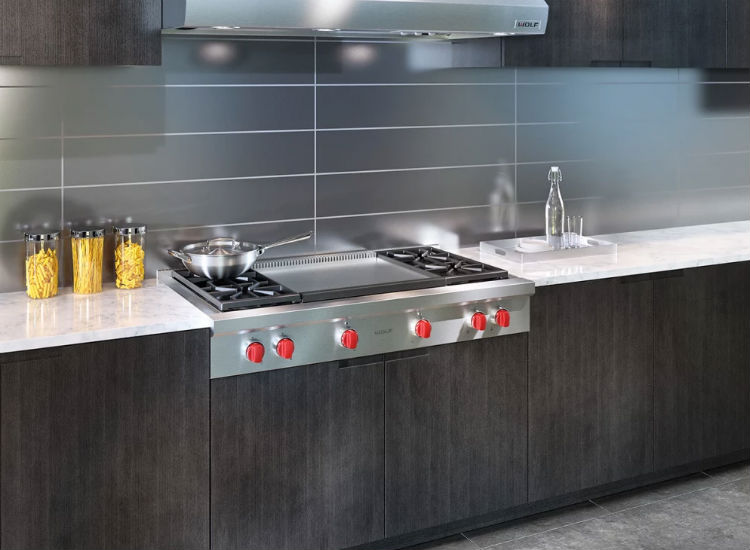
• Gas Ranges: 15-17 years
• Electric Ranges: 13 – 15 years
• Refrigerators: 9 – 13 years
• Range Hoods: 14 years
• Oven: 10 – 18 years

When considering appliance age, you should also take into account your unit’s design and style. An old appliance may function perfectly, but if its appearance does not match your changing design aesthetic, you may want to invest in a replacement.

Is Your Appliance Still Under Warranty?

Many homeowners start to consider replacing an appliance once it faces a major maintenance or repair problem. But if your appliance still has a number of years left on its warranty, you may want to hold off on replacing your unit.

Appliance warranties cover specific maintenance or repair costs, often allowing you to receive replacement parts or basic services at a reduced rate or free of charge. Be sure to check what warranties cover your appliances, and should you need service, be sure a factory-certified appliance repair company covers it. If service is covered under your warranty, there may be no need to replace your appliance.

What Is The Difference Between Repair & Replacement Costs?

If your appliance is no longer under warranty, you’ll need to more carefully consider replacing your unit. Generally speaking, it makes sense to replace your appliance when the price of the repair totals more than half the cost of a new model. There is little reason to spend a fortune on repairing an old appliance, and the more advanced features and contemporary style of a newer model will more than make up for the additional investment cost. The only time you should consider such costly repairs is if your appliance is a specialty model that would be difficult to replace.

Discover The Ideal Modern Appliances For Your Home

The decision to repair or replace a cherished home appliance can be a difficult one, and should not be taken lightly. Should you face this challenging task, be sure to consider the age of your appliance, the potential cost of repairs and its warranty policy before choosing to invest in a new unit.

If you’re ready to choose a new appliance, you can use this online collection of cooking appliances and this online collection of laundry appliances to discover great new units for your home. For additional assistance, do not hesitate to contact a home appliance expert.

How To Remove Grease From A Gas Cooktop

The cooktop is one of the most heavily used cooking appliances in your kitchen, providing the surface necessary for preparing a majority of your most cherished dishes. Gas cooktops are popular appliances thanks to their high heat output and easily adjustable controls, but these units are also prone to collecting grease and grime after repeated use.

A clean kitchen is a functional kitchen, and to help with your cleaning needs, we’ve gathered information on how to remove grease from a gas cooktop.

Clean Your Gas Cooktop With Vinegar

If your gas cooktop only suffers from light grease stains, you’ll want to use vinegar as the key tool in your cleaning process. All you need to do is spray your burners with a bit of vinegar and allow it to sit for approximately 10 to 15 minutes. Next, wipe down the appliance with a clean cloth. This should remove minor grease stains and leave your cooktop significantly cleaner.

This method is most effective if used daily. By taking the time to clean your cooktop every day with vinegar, you can ensure that grease does not get caked onto the appliance and grow into a greater mess.

Use Specialized Chemical Cleaner

There are a variety of brands that produce specialty oven cleaner, utilizing unique chemical combinations to help wipe away grease and charred waste from your appliance. While these cleaners can be effective, they also tend to leave a layer of chemical residue within your appliance after use. This can result in foul tastes being cooked into your dishes, and even present a health hazard to yourself and your family.

If you use a chemical cleaner in your oven, be sure to run the unit on high heat afterwards to help destroy any chemical residue that is left behind. But be warned — these chemicals can create foul and unpleasant odors.

Use Baking Soda To Clean Your Cooktop

Most people do not take the time to clean their cooktop every day, and if you need to eliminate tough stains, you may want to employ baking soda in your cleaning process.

First, you should wash around your cooktop and its burners using lukewarm water and dishwasher detergent. This will remove the top layer of grease and grime that lives on your unit. Next, create a paste by mixing baking soda and water, and coat the unit with this paste. Allow your baking soda/water combination to stand on the cooktop for about 20 minutes, then scrub problem areas of the unit and rinse off the paste using water.

This method is ideal if you have significant food residue on your cooktop, as the baking soda paste can help soften such waste so you can remove it from the cooktop surface.

Cooktop Grate Cleaning With Ammonia

Your gas cooktop’s grates can be the most difficult components to clean, as they often gather grease and food residue that surrounds your burners. While the vinegar and baking soda methods can be used on your grates, they are not always effective. If you’re suffering from more serious stains, you’ll need to use ammonia to clean your unit’s grates.

For this method, you must first place each burner grate in its own gallon-sized Ziploc bag. Next, add about a quarter cup of undiluted ammonia to the bag. Seal the bag and allow it to sit overnight, allowing the encased ammonia fumes to loosen grease, grime and food residue from your burner grates. After allowing your grates to sit in ammonia, you can remove them from the bags and wipe them down with water or a touch of vinegar. This will remove any remaining grease, and ensure that your burner grates are effectively cleaned. Be extremely careful to protect your eyes with googles from any splashing ammonia, and wear rubber gloves at all times.

This process can be very effective, though the ammonia may produce a foul odor that bothers you or your family. You can allow your bag to sit outside while the ammonia works its magic on your burner grates, ensuring its strong stench does not overrun your home.

Premium Gas Cooktops Perfect For The Modern Home

A dirty appliance makes your home unattractive, and there’s no reason your kitchen should suffer because of a dirty gas cooktop. These units may be prone to collecting grease and grime, but once you understand how to effectively clean your cooktop, you’ll be able to effectively maintain your kitchen’s elegant and exceptional aesthetic.

No matter how much you clean it, an old cooktop will bring an outdated sense of style to your home. If you feel like it is time to upgrade your appliance, you can use this online collection of gas cooktops to explore your choices, or contact a home appliance expert for specialized service.

How To Clean Your Kitchen Oven

Almost every home incorporates an oven into its kitchen design, providing the ideal appliance for baking desserts, broiling meats and roasting a variety of delicious dishes. In order to work at peak efficiency, your oven needs to be clean, but many homeowners are unsure of how to clean their kitchen oven.

There are a variety of methods you can use to clean your oven, and to help you maintain your appliance. With this in mind, we’ve gathered some useful information on methods for cleaning your oven.

Use The Oven’s Self-Clean Feature

Most of today’s ovens feature a self-cleaning option that helps eliminate food debris and waste from the appliance. The self-clean feature essentially heats your oven up to such a high temperature that it burns off any leftover food particles within the appliance’s interior. Once your self-clean cycle is complete, you can wipe any burnt waste from the unit.

While self-cleaning features can be effective, these options only work if used on a regular basis. If you have not used your self-clean option in at least six months, it may not be very effective, and may actually cause damage to your oven’s interior. Moreover, the self-clean options for older units are much less effective than those found in modern appliances. If you have an old oven, its self-clean option may not meet your needs.

Use Specialized Chemical Cleaner

There are a variety of brands that produce specialty oven cleaner, utilizing unique chemical combinations to help wipe away grease and charred waste from your appliance. While these cleaners can be effective, they also tend to leave a layer of chemical residue within your appliance after use. This can result in foul tastes being cooked into your dishes, and even present a health hazard to yourself and your family.

If you use a chemical cleaner in your oven, be sure to run the unit on high heat afterwards to help destroy any chemical residue that is left behind. But be warned — these chemicals can create foul and unpleasant odors.

Home Oven Cleaning Solution

To ensure your oven is properly cleaned, nothing beats cleaning the appliance by hand. You can follow the steps below for an effective home oven cleaning solution:

• Make Your Cleaning Solution: In a small bowls, mix half a cup of baking soda with several tablespoons of water. This will create a baking soda paste that will be spread across your oven to eradicate germs and clean its interior. You can adjust the ratio of baking soda and water to properly create a spreadable paste.
• Empty Your Oven: Before the cleaning process begins, remove the oven racks and any additional items that are stored within your appliance.
• Coat Your Oven In Home Cleaner: Spread your baking soda/water combination across the interior of your oven without coating its heating elements. Be sure to coat particularly greasy areas with extra cleaning solution. We recommend wearing rubber gloves during this process. Allow the solution to sit in your oven for a minimum of 12 hours.
• Clean Your Oven Racks: While your cleaning solution rests, you can wash your oven racks in the sink or your bathtub, using hot water and dishwasher detergent to combat grease and grime.
• Wipe Out Your Oven: After at least 12 hours, take a damp washcloth and wipe out as much of the cleaning solution from the oven as possible. The baking soda/water combination will now be a dried paste, and you may need to use a spatula to scrape the paste from your oven’s interior.
• Spray Vinegar: Put white vinegar in a spray bottle and spray it anywhere you see remaining baking soap residue. This will create a foamy reaction with the baking soda.
• Final Wipe-Down: Use a damp cloth to wipe any vinegar and baking soda from your oven. You can add more water or vinegar to the oven interior in order to wipe away any additional baking soda. Repeat this process until the oven is clean. Once clean, place your oven racks back inside the appliance.

Premium Ovens For The Modern Home

No kitchen design is complete without an oven, but your oven won’t be able to cook properly unless it’s clean. While your appliance’s self-clean function and chemical cleaners can both be effective, the best way to clean your oven is dive in to the appliance and do it by hand. Once you understand how to clean your oven, you’ll be able to properly maintain your unit and ensure it produces delicious dishes for years to come.

A clean oven is vital to any kitchen, but if your appliance is old, it may be time to upgrade to a newer model. You can use this online collection of ovens to explore a variety of choices, or contact a home appliance specialist for additional information.

4 Kitchen Appliance Tips For The Holidays

Your kitchen is a hub of activity throughout the year, but this is particularly true during the holiday season. If you plan on hosting a holiday gathering, you’ll definitely want to get the most out of your premium kitchen appliances, and there are plenty of small tips and tricks you can employ to ensure your kitchen runs smoothly.

To help, we’ve compiled some suggestions for kitchen appliance use this holiday season.

1. Do Not Self-Clean Your Oven Before Holiday Cooking

The self-cleaning feature on your oven is intended to make cleaning easy, but if used right before you begin cooking for the holidays, it could cause a major disaster.

Many homeowners do not use their oven’s self-clean option frequently, and if you use this feature right before a big event, you risk causing an oven malfunction that can seriously damage your appliance. If your oven’s self-cleaning feature isn’t used at least every six months, you run the risk of damaging the appliance when it is activated.

You should also avoid using chemical oven cleaners right before holiday cooking. These products can be effective, though they often leave a layer of chemical residue that needs to be burned off before heavy oven use. This residue can be cooked into your holiday dishes, creating a foul taste while providing a health risk to your holiday guests.

 2. Use Your Oven’s Convection Settings

Many homeowners have a convection oven, though they are unsure of how to properly use its convection setting. Your unit’s convection option helps it cook food faster and more evenly, and is generally better for browning dishes — making it a great choice for a host of holiday favorites.

If you want to take advantage of this feature, be sure to reference your appliance’s owner’s manual for instructions. In general, you should try to follow these basic rules on how to use a convection oven:

  • Lower the recommended cooking temperature by 25 to 30 degrees Fahrenheit, or cut the baking time by 25 percent.
  • For small pastries, reduce the cooking time by 10 to 15 percent
  • For large roasts, reduce the cooking time by approximately 30 percent

3. Do Not Overwork Your Dishwasher

Once your holiday feast is done, it’s time for the dishwasher to do its job. However, you don’t want to risk ineffective wash cycles by overworking your appliance.

When washing dishes post-holiday dinner, be sure to use the proper amount of soap for each cycle. Too much soap will fill your machine with excess suds, making your cycles less effective. You should also be sure to scrape off all food residue from plates, bowls and silverware, as excess food particles can clog your unit’s jet streams. You should also be sure not to over-rinse dishes, as enzymes in dishwasher detergent require the presence of food residue in order to activate and be effective.

 4. Empty Your Ice Maker Before Gatherings

Nothing ruins a delicious drink like dirty ice, and you’ll definitely want to supply your holiday party with a steady stream of fresh and clean ice. If you notice that your ice maker produces chalky or smelly ice, you’ll have to take action to ensure your guest receive what they deserve.

As air moves throughout your refrigerator and freezer, the unit’s ice maker can become polluted by the flavors of food stored in the appliance. This often results in chalky, smelly and odd tasting ice. To prevent such impurities, you should first empty out your entire ice compartment and allow it to refill with fresh ice. Once the compartment if full, empty the fresh ice into a plastic bag and store it on your freezer shelf. The bag will protect your ice from air that circulates in the unit. You can feel free to continue this process until you have enough ice for your holiday party.

Meet Your Home Appliance Needs This Holiday Season

Your kitchen needs to work at peak efficiency during the holiday season, meeting your cooking and cleaning needs at each and every turn. Armed with a deeper understanding of how your kitchen appliances operate, you’ll be in the perfect position to have a memorable holiday season.

If you notice any issues with your home appliances, the holiday season is also a great time to upgrade to more modern options. You can browse this online collection of cooking appliances to explore your choices, or contact a home appliance expert for further details.


How to Decorate Your Kitchen For The Holidays

The holiday season is in full swing, and you’ll want to fill every corner of your home with festive decorations and holiday cheer. Many homeowners focus their decorating efforts on the outdoors, or on their Christmas trees, but there’s no reason you can’t bring some fun décor to your kitchen.

Decorating the kitchen can be a tricky task considering the number of useful appliances that fill the space. You don’t want to get in the way of accessing your refrigerator, and you definitely don’t want to put decorations too close the flames of your gas cooktop. However, there are plenty of ways you can decorate your cooking space for the holidays. With that in mind, we’ve compiled a helpful guide on how to decorate your kitchen for the holidays.

Display Cards & Photos On Your Refrigerator

You’ll likely receive a host of cards from family, friends and loved ones this year, and there’s no better pace to display them than right on your refrigerator.

Many of today’s best refrigerators feature stainless steel designs, or another form of metal exterior, allowing you to easily place holiday cards on the unit using small magnets. You can find refrigerator magnets at many convenience stores or hardware stores, and you’ll even be able to find holiday-themed magnets for added style. With these magnets, you’ll be able to arrange cards along your refrigerator however you please. You can even display photos from previous holidays on your appliance, sharing fond memories with all who enter the kitchen.

Festive Linens For Christmas

Everyone knows that green and red are the traditional colors of Christmas, and an easy way to incorporate these colors into your kitchen décor is by investing in festive Christmas linens.

Many popular home brands produce holiday themed towels, potholders, aprons and more, and adding these to your kitchen is an easy way to bring some festive flavor to the cooking process. Most holiday decorations are not designed for easy placement in the kitchen, and holiday-themed linens are a simple way to add some Christmas style to the kitchen without getting in the way of everyday cooking tasks.

Create An Island Or Table Arrangement

Most homes have an island, a kitchen table or both, and the flat surfaces these fixtures provide make them a great location for arranging holiday decorations.

For elegant and understated style, we recommend creating a floral arrangement using traditional holiday plants like poinsettias, ferns or small pines. You can also place a wreath on the flat surface and build a centerpiece within the wreath using plants or other decorative elements. Feel free to let your creativity run wild, but just be sure that you have ample space to eat at the table or prepare food on your island.

Keep Things Simple

Decorating your kitchen is a great way to get into the holiday spirit, but it’s important that you don’t go overboard. The kitchen is always a major hub of activity, but this is especially true when holiday parties and gatherings are near. While you’ll want to impress guests, you definitely do not want to be tripping over holiday decorations when preparing a meal.

When decorating the kitchen, it’s best to keep things simple. Ensure that your festive touches do not block access to your appliances, and that flammable decorations are not too close to your oven, cooktop or cooking range, as this can create a major fire hazard in your home. With some strategic planning, there’s no doubt that your holiday kitchen decorations will look amazing.

Holiday decorations are a great addition to any home, and the holiday season is also a great time to gift your home with some new appliances. You can explore your options using this online collection of cooking appliances, or contact a home appliance expert for additional assistance.

What’s The Difference Between a Rangetop & Cooktop?

Today’s kitchens breathe life into your home by playing host to a variety of powerful and advanced cooking appliances, helping you bring culinary dreams to life with ease. When designing your kitchen, you’ll definitely want to invest in either a cooktop or rangetop, but what’s the difference between these two appliances?

Cooktops and rangetops provide many of the same functions, but contrary to popular belief, these appliances are not the same. To help you explore your options, we’re breaking down the differences between cooktops and rangetops.

Rangetops vs. Cooktops

When comparing these two appliances, the main difference comes down to their basic design. The standard cooktop is a drop-in unit that is installed within a kitchen counter, featuring control knobs on the top of the appliance. Meanwhile, a rangetop is a slide-in unit installed within your countertops, flanked on each side by the counter itself. This design features control knobs on the front of the appliance, just like a cooking range. Your preference in knob placement will likely be a deciding factor in whether you invest in a cooktop or rangetop, though there are other minor differences that will also impact your decision.

Pros & Cons of Cooktops

Cooktops are commonly found in a host of homes, and like any other appliance come with their own set of pros and cons.

These appliances are designed for everyday home use, and there are several types of cooktops designed to match your specific needs. Gas cooktops, electric cooktops and induction cooktops are all popular choices, allowing you to choose between different fuel sources to find the right appliance for your home. Moreover, compared to most rangetops, the average cooktop requires a smaller countertop cutout space for installation.

While cooktops are a popular choice, these units do have their drawbacks. There are many exceptional premium cooktops available on today’s market, but there are also countless lower-end models that may not meet the demands of a busy kitchen. To find the right option, you’ll need to do a lot of research. Furthermore, some homeowners do not like how cooktop controls are located on the top of the appliance, as this can present a minor risk of burns if making adjustments while cooking.

Pros & Cons of Rangetops

If you’re looking for pro-style in your kitchen, then a rangetop may be the appliance for you. These units are commonly found in professional kitchens, and are ideally suited for avid home cooks that want to bring commercial-grade quality to their kitchen.

Most rangetops are pro-style units, meaning they offer superior power and heating functions that allow you to cook quickly, helping you save time in the kitchen. However, the greatest benefit of these models is their control knob orientation. With controls on the front of the appliance, you have easy access to the knobs while cooking, ensuring that you never have to reach over your pots and pans to adjust burner temperatures. This design significantly decreases the chance that you’ll burn yourself while cooking.

Rangetops are great for many kitchens, but you’ll need to ensure that you have enough space for your unit before making an investment. These appliances typically require more counter space for installation than a standard cooktop. Moreover, rangetops often come at a higher price than the average cooktops. However, their advanced heating capabilities and professional style makes the cost more than worth it.

Superior Rangetops & Cooktops For The Modern Kitchen

A great cooktop or rangetop is a must-have appliance in every kitchen, providing the strong heat and cooking surface required for crafting a wide array or exciting recipes. Thanks to a host of superior options available from a range of premium brands, there’s no doubt that you’ll find the perfect rangetop or cooktop for your home.

Looking for a new cooking appliance? You can use this online collection of cooktops or this collection of rangetops to explore your options, or contact a home appliance expert for specialized assistance.

How To Clean Your Dishwasher in 3 Steps

The dishwasher is your kitchen’s premier cleaning appliance, providing your home with a steady supply of clean plates, bowls, utensils, cookware and more. But just like any other kitchen product, your dishwasher requires regular cleaning.

Some homeowners assume that because the dishwasher is used for cleaning, it doesn’t need to be cleaned. However, failing to clean your unit will result in a smelly dishwasher filled with waste that ultimately cannot do its job. Luckily, cleaning a dishwasher is a simple task, and to educate you we’ve provided some helpful information on how to clean your dishwasher in three steps.

1. Clear The Dishwasher Drain

The dishwasher drain is designed to capture all the food particles and waste that’s washed off of your dishes after a cycle, and you’ll want to clear the drain before you wash the entire unit.

The drain is located in the bottom of your appliance, and you’ll need to remove the bottom dish rack for proper access. Simply locate the drain and remove any gunk or food waste that you find. Cleaning the drain is particularly beneficial if you notice bad smells coming from your appliance, as these odors are typically caused by rotten food waste. Moreover, cleaning the drain will improve your dishwasher’s efficiency and drainage capabilities.

 2. Wash Cycles With White Vinegar

Once your dishwasher drain is cleared, you can clean the interior of the appliance using white vinegar.

To do this, you should first place one cup of white vinegar in a dishwasher-safe container on the top rack of the unit. Next, run the dishwasher on a hot water cycle. This will help eliminate grime and grease throughout the appliance, while also killing bacteria that can cause musty odors.

 3. Rinse Cycle With Baking Soda

After the white vinegar wash cycle, the final step in cleaning your dishwasher is running a rinse cycle using baking soda.

You should measure one cup of baking soda and sprinkle it across the bottom of the dishwasher, then run a hot water rinse cycle. This cycle will remove stains throughout the appliance’s interior and leave it smelling fresh.

Efficient & Effective Dishwashers For Today’s Homes

The only way your dishwasher will work properly is if it’s clean, and dishwasher cleaning is a necessary chore for every homeowner. As long as you have white vinegar and baking soda in your home, cleaning your dishwasher will be a simple task.

Are you looking for a new dishwasher? You can use this online collection of dishwashers to explore your options, or contact a home appliance expert for specialized assistance.

How To Use A Convection Oven

The modern kitchen is not complete without a powerful oven, and for fast and efficient cooking results you’ll definitely want to invest in a convection oven.

Convection ovens offer specialized settings that heat the appliance differently than conventional ovens, reducing cooking times and helping you achieve even oven-cooked results. But many homeowners are unsure of how to use their convection ovens. To help you take advantage of your appliance, we’ve gathered some helpful information on how to use a convection oven.

Convection Ovens vs. Conventional Ovens

Convection and conventional ovens will both effectively cook or bake your items, but the key difference is the way that they heat food. Conventional ovens cook food by surrounding it with hot air, while convection ovens circulate hot air for cooking.

A convection unit features a fan in the back of the oven, and when it’s convection setting is turned on, the appliance blows hot air throughout the inside of the unit. Compared to conventional oven cooking, this air circulation promotes fast and even heating. With conventional settings, hot air simply sits within the oven’s interior, which can potentially lead to slower cooking and uneven results.

When to Use Convection Settings

Most modern ovens offer convection cooking settings, but these settings are not ideal for every cooking scenario. That said, you’ll definitely want to use your appliance’s convection setting when:

  • Roasting Meat or Vegetables: Roasted dishes benefit from the drier cooking environment that convection settings provide. These conditions help create crispy skin on meat and yield caramelized exteriors for vegetables.
  • Baking pies and pastries: Convection cooking creates steam and melts fat fast, offering more “lift” in pastries and pie dough.
  • Toasting or dehydrating food: Convection cooking natural creates a dry atmosphere that removes moisture from food, making it an ideal option for toasting or dehydrating dishes.

It’s also worth noting that you should not use convection settings when cooking delicate dishes or desserts. This is because blowing of the convection fan can endanger the integrity of the dish, separating baking batters or creating lopsided results in other delicate foods.

Convection Oven Cooking Tips

Convection oven settings are significantly different from conventional settings, and you’ll need to keep a few things in mind when cooking with convection.

First, remember to lower the standard oven temperature for whatever you’re cooking by 25 degrees Fahrenheit. The convection settings promote stronger overall heat, and lowering the temperature will ensure whatever you’re making isn’t overcooked or burned. You should also be sure to check your food earlier than the recommended cooking time, as convection settings will cook food faster than normal.

Finally, you also need to ensure that air can properly flow through your oven for the convection process to work. You should try to use trays and pans with lower sides, as this will help air flow over your food and through your oven. You should also avoid covering oven shelves with foil.

Superior Convection Ovens For Today’s Kitchens

A convection oven is a great addition to any kitchen, helping you cook and bake a variety of items effectively and efficiently. With some knowledge on how the convection cooking process works, you’ll be able to take advantage of all the benefits your oven offers, bolstering the culinary possibilities of your home.

If you’re looking for a new oven, consider using this online collection of cooking appliances or contact a home appliance expert for additional assistance.

How To Organize Your Refrigerator

The kitchen refrigerator is one of the most vital appliances in your entire home, providing the storage solutions required for a host of ingredients, pre-prepared dishes, beverages and more. You don’t want your items to spoil while in your refrigerator, and the secret to long-lasting ingredients is proper organization.

By strategically organizing your refrigerator, you can ensure that each item is placed exactly where it needs to be based on its temperature and humidity requirements, ensuring your foods do not spoil while saving you money at the grocery store. With that in mind, we’ve provided some helpful information on how to organize your refrigerator.

Items To Store Elsewhere

To maintain an organized refrigerator, you need to ensure your appliance is not overstuffed. There are a host of common ingredients that have no place in the kitchen, and storing them elsewhere will allow you to maximize space within your unit.

When organizing food, you should avoid keeping common items like tomatoes, garlic, onions and potatoes in your refrigerator. You should also store bananas and bread in non-refrigerated areas. Storing these items in room temperature conditions will free up space in your unit without putting your items at risk for going bad.

If space is limited in your appliance, you can also store citrus fruits like oranges, tangerines, grapefruit and lemons. These items are actually more juicy and delicious at room temperature, even though refrigeration will prevent their natural decomposition process.

Organize Condiments In The Door

The refrigerator door is the warmest part of your appliance, making it a bad place for highly perishable items. Instead, store all your common condiments in the door to free up shelf space for other items.

Most condiments are high in natural preservatives, allowing them to taste great even if they’re stored in warmer conditions. Items like ketchup, mustard, salad dressing and sauces should stay in good condition for a significant amount of time when stored in your appliance’s door. You can also keep pickled vegetables, jellies and jams in the door and trust that they will be preserved properly.

Use Drawers For Fruits & Vegetables

Most modern refrigerators feature “crisper” drawers designed specifically for preserving fresh produce. It may be easier to keep these items on your shelves, but doing so only means they will spoil sooner.

Standard crisper drawers offer a variety of humidity settings that help you store items at proper conditions. For delicate fruits like grapes, pears and apples, set the drawer to a low humidity level. Meanwhile, if you choose to keep citrus fruits in your refrigerator, set the drawer to a medium humidity. Crisp vegetables like green beans and carrots can also be kept at medium humidity, while veggies prone to wilting like lettuce, leafy greens and broccoli should be preserved in a high humidity drawer.

Dairy & Meat On Lower Shelves

Meat and dairy ingredients are vital to a host of popular recipes, and these items can also spoil fairly quickly. For the freshest dairy and meat, keep these items tucked towards the back on the lower shelves of your refrigerator.

The lower part of the refrigerator is typically the coldest area of the appliance, making it an ideal spot for your most perishable items. The cold temperatures found on your lower shelves are ideal for meat and dairy, as they’ll extend the lifetime of these important ingredients. For an extra blast of cold temperatures, stick particularly perishable items like milk further back on a lower shelf. Just be sure that you leave enough space between your items to allow cold air to properly circulate.

Pre-prepared Items & Leftovers On Top Shelves

The top level of the refrigerator is typically warmer than the lower level, making it an ideal location for storing pre-made food and leftovers. Prepared ingredients do not require the same cold temperatures that raw or uncooked items do, making the top shelves a great place for pre-packed lunches, leftover takeout, deli meats and more.

Modern Refrigeration Solutions For The Modern Home

The refrigerator is designed exclusively for food and beverage storage, and there’s no reason you shouldn’t be getting the most out of your appliance. Thanks to effective organization, you can take advantage of your unit’s specialized design while helping a host of delicious ingredients stay fresh for longer.

If you’re looking for a new addition to your kitchen, you can browse this online collection of refrigerators or contact a home appliance expert for further assistance.

Which Food Disposal Solutions Are Right For Your Home?

Today’s kitchens buzz with activity at all hours of the day, and are filled with modern cooking appliances that help you craft restaurant-quality meals for any occasion. After your cooking is completed, it’s time to clean, and your home requires proper food disposal solutions to help get the job done right.

Each homeowner tackles food waste and trash removal differently, but there are several common tools that are all but guaranteed to help keep your kitchen clean. With that in mind, we’ve compiled some useful information on the most common food disposal solutions for your home.

Garbage Disposals

If your primary concern is eradicating small amounts of food waste, then you’ll definitely want to add a garbage disposal to your kitchen.

Garbage disposals are small units fitted to the waste pipe of your kitchen sink that grind up waste as you toss it down the drain. These common appliances come in handy when cleaning dishes and cookware, as they allow you to quickly get rid of any food remnants while washing up.

Homeowners can choose from two types of garbage disposals — continuous feed disposals and batch feed disposals. Continuous feed units are controlled by a switch, and run as long as the switch is flipped. Meanwhile, batch feed models feature a special cover that activates the unit’s grinding action. Regardless of your preference, either disposal should meet the needs of the common kitchen, helping you effortlessly eliminate the final bits and pieces of a delicious meal.

Trash Compactors

You need more than just a garbage disposal to keep your home clean. To help handle heavy-duty waste, you may want to consider investing in a trash compactor.

Trash compactors reduce trash volume by literally crushing garbage and food waste. These units feature a bin that holds trash and a metal ram that compacts your trash, creating more space in the bin for additional garbage. Trash compactors help you pack as much trash together as possible, reducing the number of trips you’ll need to make to your dumpster. Moreover, many of today’s advanced units feature odor management systems that ensure foul smells stay out of your home.

If you’re concerned that a trash compactor will clash with your home aesthetic, don’t worry, because these appliances come in a range of styles, sizes and designs. Nearly all trash compactors are built-in appliances, allowing them to be seamlessly integrated into your kitchen or any other living space.

Recycling Cabinets

The modern home should be environmentally friendly, and a recycling cabinet can help make that goal a reality.

These units are conveniently placed cabinets that feature bins designated for recyclable waste. Many recycling cabinets offer space for multiple bins, allowing you to easily separate plastic, glass and paper recyclables. Like trash compactors, these cabinets are built-in units that can match the style of almost any living area. In fact, you can even designate a bin in your cabinet for regular garbage if you do not have a trash compactor in your home. Thanks to their versatile designs, recycling cabinets are great additions to any home, helping you get rid of food packaging, bottles and more in an eco-conscious fashion.

Discover The Ideal Food Disposal Solutions For Your Home

No homeowner wants their living spaces to be overrun with food waste and trash. The strategic employment of food disposal solutions will ensure your home stays clean and odor-free, helping you get rid of food waste, trash and recyclables efficiently and effectively.

Ready to find the right appliances for your home? Explore this online collection of food disposal units today, and be sure to contact a home appliance expert for further assistance.