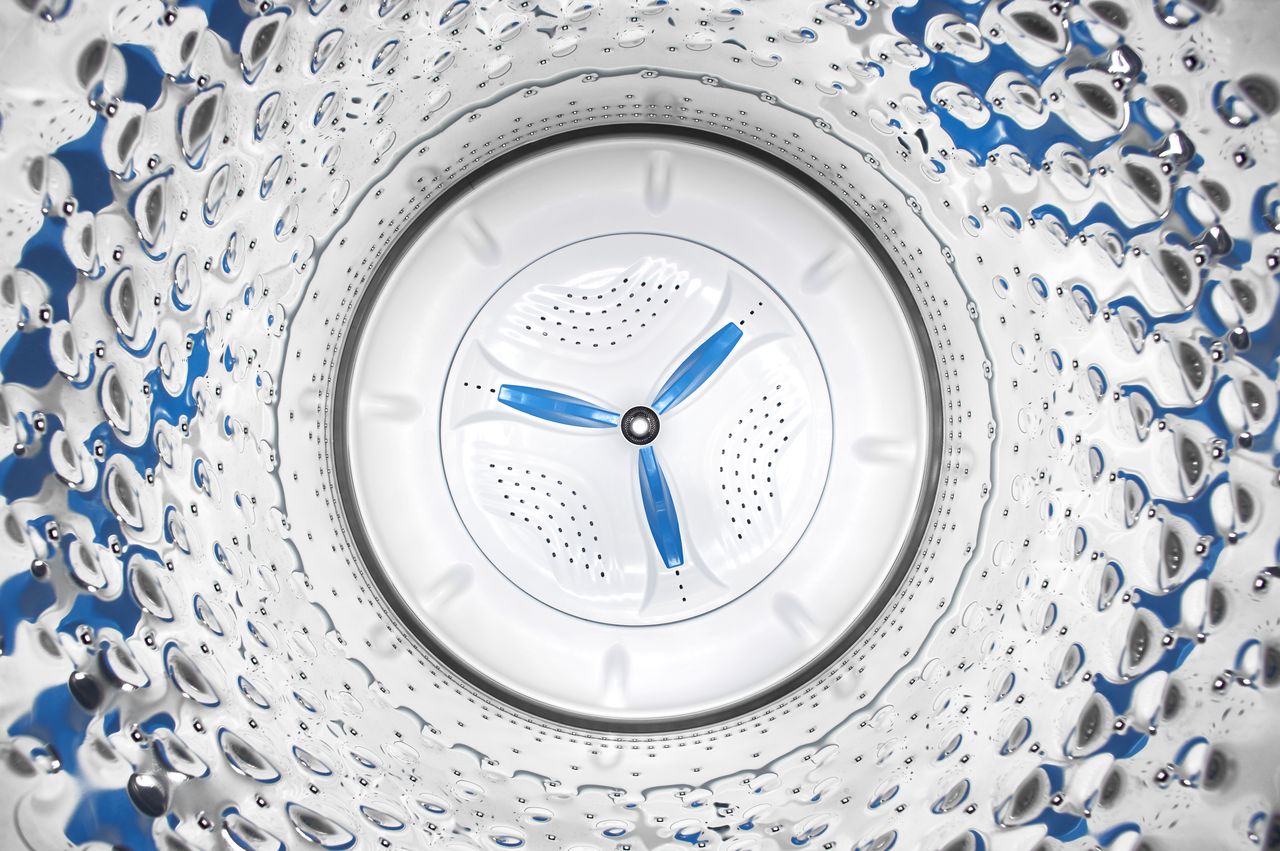
We rely on our washing machines to clean our fabric items, and most people believe that this process keeps the appliance clean too. This is incorrect; a washing machine requires periodic cleaning after every 30 washes to maintain performance and efficiency. If you’ve noticed that your fabrics are not smelling fresh anymore, this can be caused by a buildup of bacteria, grime, and mold inside the appliance. Regular cleaning can prevent and correct these problems, and that will be the focus of this article.
Gather the Cleaning Supplies
The cleaning methods that you choose and the products that you choose for the task may vary depending on whether you have a front load or top load model. To ensure that you’re cleaning the appliance correctly, consult the owner’s manual for your specific washing machine. This will have helpful tips on how to clean the washing safely and efficiently. That said, there are certain items that you will need: a damp cloth, an all purpose cleaner, liquid chlorine bleach, and an Affresh tablet.
Affresh contains sodium percarbonate, which is better known as “Oxygen Bleach” or an “Oxygen-based Bleach,” and it contains no chlorine. If you prefer to use an alternative, you can clean and sanitize with liquid chlorine bleach or a homemade baking soda and white vinegar combination. But, you must choose one approach only; you cannot use bleach and vinegar together because they form chlorine gas which is dangerous to inhale.
4 Steps to Thoroughly Clean the Appliance
When you’re ready to start cleaning, there are four easy steps to follow in order:
Step 1: Cleaning the Washer Tub
Remove any items from the washer tub, and add the affresh table or your chosen alternative to the bottom. Take care; if you’re using a liquid chlorine bleach, check the owner’s manual first because it shouldn’t be used with certain front load washing machines. When you’re ready to continue, close the door, select the cleaning cycle and start the machine. If you’re cleaning a top load model, you will need to run an additional rinse and spin cycle to clean away excess cleaning products that may be lingering in the machine. If you’re performing a deeper clean, consider removing, washing, and replacing the agitator before you run the wash cycle. When the wash cycle finishes, leave the door open and let the washer tub dry naturally.
Step 2: Cleaning Detergent Dispensers
The detergent draw may be removable, but this will vary depending on the model, and full removal instructions can be found in the owner’s manual. If you can’t remove the detergent drawer, you will have to clean it in place and fully extend it. Apply the all-purpose cleaner, rub it into the surfaces with a damp cloth and dry it with a clean towel. Some detergent drawers are dishwasher safe, but many are not, and this should be confirmed before you consider cleaning the drawer in the dishwasher.
Step 3: Clean the Washer Door
Open the door or lid and wipe the surface with a damp cloth. Front load washers have a rubber door seal that can be lifted, and you can wipe under there too. Washing these surfaces with warm water reduces detergent build up and the soiling process is slowed.
Step 4: Clean the External Surfaces
Use a mild cleaner or soap to sponge down the exterior of the washing machine. This cleans away any unsightly spills and drips that can become grubby and dirty over time. Congratulations, your washing machine is now clean and ready for the next laundry load.
If you’re considering a new washing machine, you can explore your options with this online collection, or for further help or guidance, speak to a home appliance expert.
